I've wanted to do a Lesney Miura for a long time, and I finally got one from a friend on a Facebook trade group. Here's how it was when I got it:


The only real un-correctable flaw with this one was the big crack in the rear window..

But that's easily correctable when you have a big "junkyard" full of parts cars! Like this transitional Miura with a busted front window.. but the rear is mint!

Nothing a little cutting and replacing can't fix.

Another issue this one had, is the driver's door wasn't fitting quite correctly. I decided to grab a door from the transitional donor car and see if it fit any better.. Looks like a real beater now, huh?

Here's all the parts together:

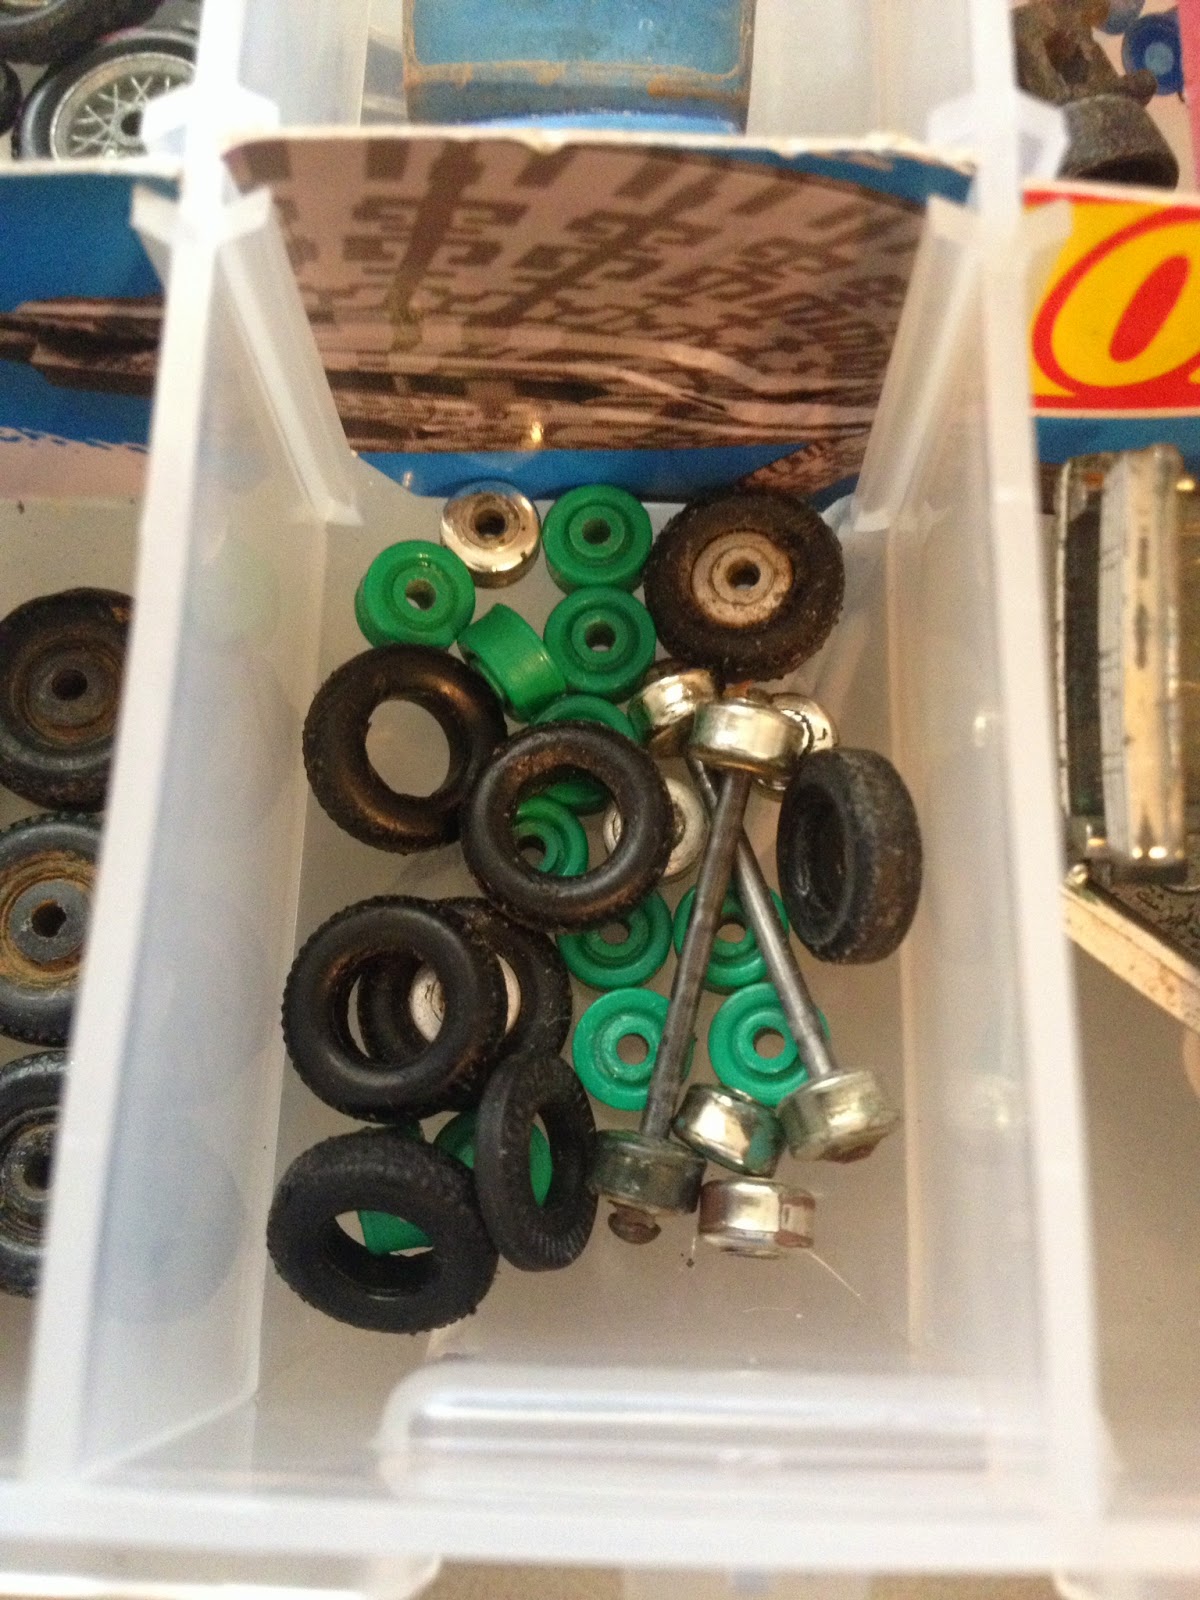
Another issue, as you may have noticed, is the lack of tires that plagues so many regular wheel era Lesneys... In addition to that, one of the hubs was quite damaged. I like to leave the wheels all original on my restoration if I can, but this was just too bad to ignore.

No problem though, onto the junkyard!!
All the problems fixed, now onto the painting process:


I forgot to take a picture of it baking in the toaster oven, but you get the idea...
Anyways, here it is now all finished!


Luckily I was able to drill it properly so it just snapped back into place.
What do you think? Drop me a line with some comments.
No comments:
Post a Comment